Your Voice-Over career hinges on getting the details right, including where you place the microphone! Fortunately, we can help you out – we spoke with Voquent Talent Manager Andy Langfield about rules for perfect mic placement every time.
Andy’s expertise doesn’t end with moderating and approving voice talent sign-ups and Demos; he also oversees the review and verification of home studios. So he is a pro in the subject of microphones and hardware.
On Voquent, you may see some profiles with a blue verification badge on their profile; this means a professional engineer has verified this voice’s studio! The majority get this status after working with us for the first time, but this isn’t the only path to verification. Still, many also choose to fast-track the verification status, which involves a complete review of the microphone placement and raw audio analysis.
One of the most frequent issues he finds is poor microphone placement. This problem is more common than you would imagine, so we talked to Andy to find out more and learn about proper microphone placement to make things clear.
Q: Hey Andy, how often does microphone placement play a role in verifying home recording environments?
Andy: Almost every studio I review has an issue relating to the placement of the microphone. Even when the recording is good enough to pass our quality checks, it’s something that I commonly mention to the voice artists as something to work on. Even the most seasoned professionals need to keep up with proper practices to ensure top results – so don’t feel too bad!
Q: What’s the most common issue, i.e. is the microphone too far away or too close?
Andy: Being too close to the microphone, coupled with poor microphone technique. In most cases, the voice artist is either new to the more-technical audio production side of things, or they are trying to take advantage of the proximity effect to add character and depth to the sound of their voice.
Q: What’s the proximity effect?
Andy: Without going into the technical minutia, this phenomenon leads to an increased low-frequency response (more bass!) as you move closer to a condenser microphone with a directional polar pattern. It’s also known as the Barry White effect, and you’ll undoubtedly have heard many radio DJs using it to their advantage. You can also hear it on movie trailers and things like perfume adverts.
When we record our own voice, it always sounds “thinner” than expected. Much of what you “hear” when you speak is the feeling of your voice resonating inside your body, creating a perception of greater depth. Voice artists often tell me they are trying to make their voice sound deeper and warmer with close miking.
“Accept it baby, you sound small and puny.” – Barry White 1978
When it’s done correctly it can sound great, however, it’s not appropriate for every piece of content and it’s very easy to overdo it by getting in too close. Consequently, this can make a recording sound muddy and reduce speech intelligibility, especially when recorded with cheaper equipment. A recording with a lot of presence and deep low end can become tiring on the ears, especially when listening to dialogue-heavy, long-form content, such as an E-Learning module.
Q: How can you tell when someone is too close to the microphone?
Andy: Besides the low-frequency boost caused by the proximity effect, the main tell-tale signs are increased levels of sibilance (s, z, ch, j and sh sounds) and plosives (hard consonants – t, k, d, g, and b).
High frequencies are very directional and have a lot of energy, and when you are close to the microphone, frequencies in the sibilance range (5 to 10 kHz) can become unnaturally exaggerated.
People tend to breathe forwards and slightly downwards when they speak, and the air generated by the mouth when producing hard consonants can cause the microphone’s diaphragm to vibrate. This creates audible wooshes and pops, which are known as plosives.
Breathing and mouth noises such as lip smacks and saliva crackles are often more apparent too.
Q: How can you reduce these sounds?
Andy: Moving further back from the microphone will reduce them; however, this could make your recording sound too distant, which may not be suitable for the content that you are recording. It can also be impractical if you don’t have much space available in your booth or if your room doesn’t have enough acoustic treatment.
The level of breaths can be controlled by practising good technique, and a pop filter can help with this and plosives. Lip Smack and Saliva Crackle are typically caused by a wet palette which is usually a sign of mild dehydration. Avoiding diuretic drinks before a recording session and staying hydrated will help.
All of these sounds can be removed or reduced with careful editing or effects processing, however, it can be time consuming and in some cases, this can be detrimental to the overall quality of the final production. Fixing it in the mix is not the best way to go about audio production; in this case, prevention is better than fixing. These are recording issues and it’s always better to tackle them at the source. One easy way we can do this by considering the placement of the microphone.
Q: So, what is the perfect microphone position for a professional voice-over?
Andy: There is much debate (and disagreement) about the perfect microphone position. Arguably, there isn’t such a thing as absolutely perfect as everyone has a unique voice, uses different equipment, and each recording space is also different.
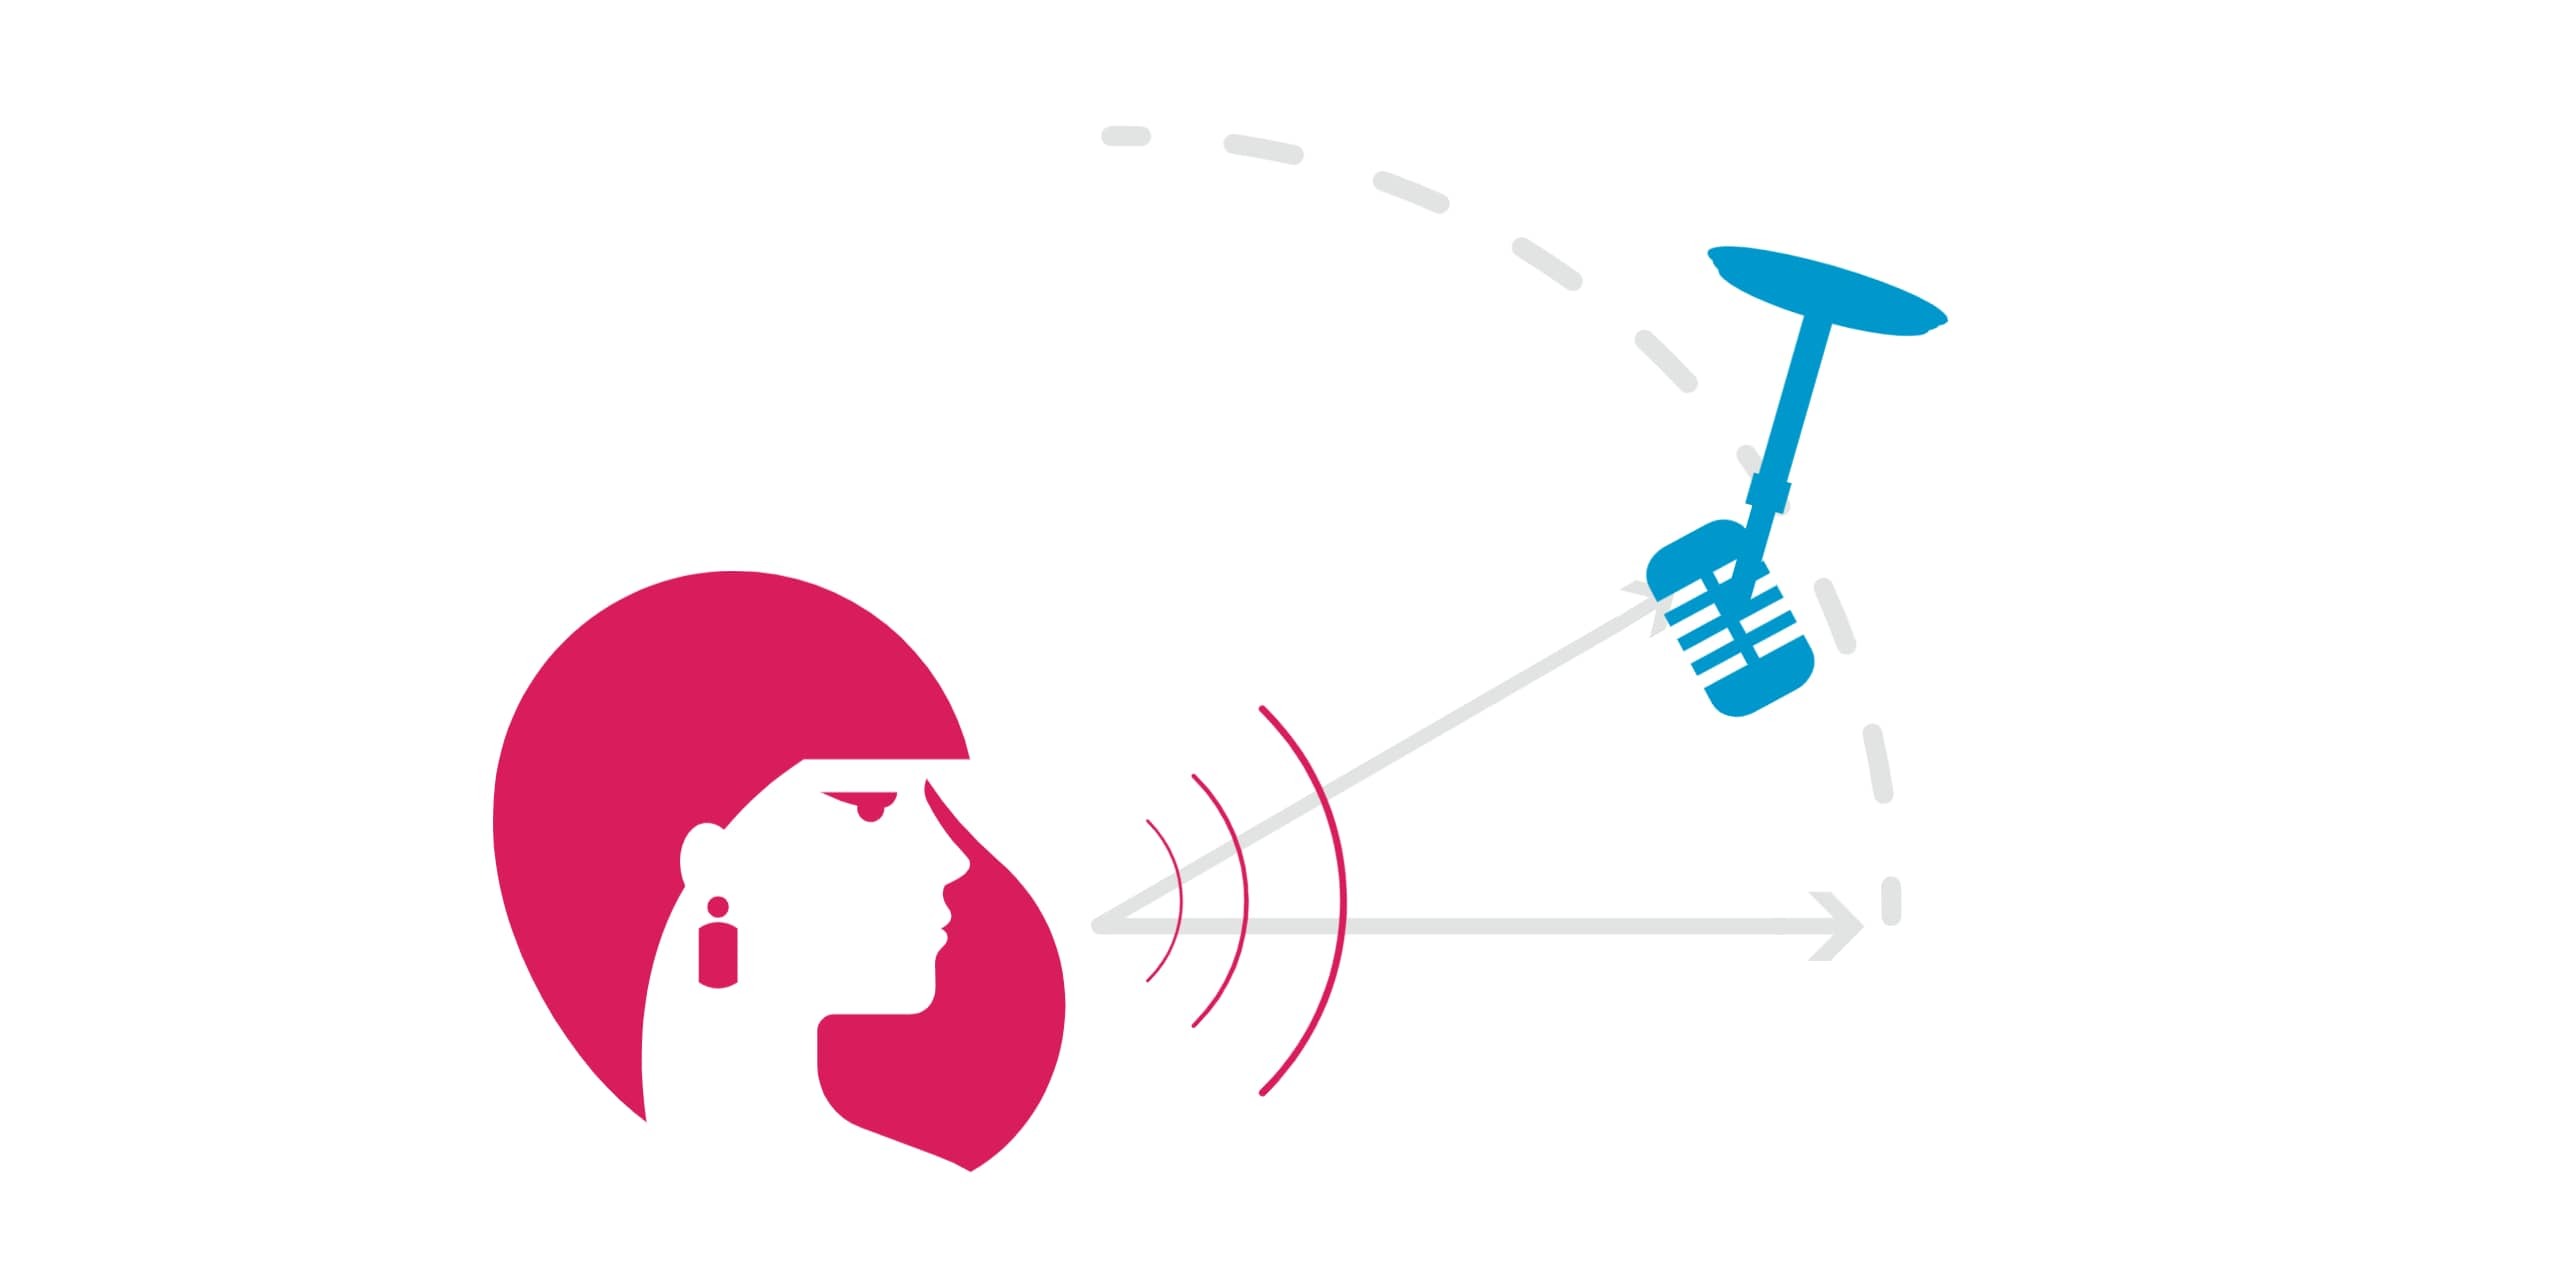
I recommend setting up your microphone in an off-axis position. By doing so, you can significantly reduce the unwanted sounds described earlier and still get an excellent recording.
Q: What in the world is Off-Axis recording?
Andy: In voice-over, off-axis recording is simply changing the position and angle of the microphone so that you’re no longer speaking directly towards the front and centre of its diaphragm. This will allow you to be closer to the mic without significantly increasing the level of sibilance, plosives, breaths, or mouth noises. I’ll explain how this works in basic terms without getting too into technical details.
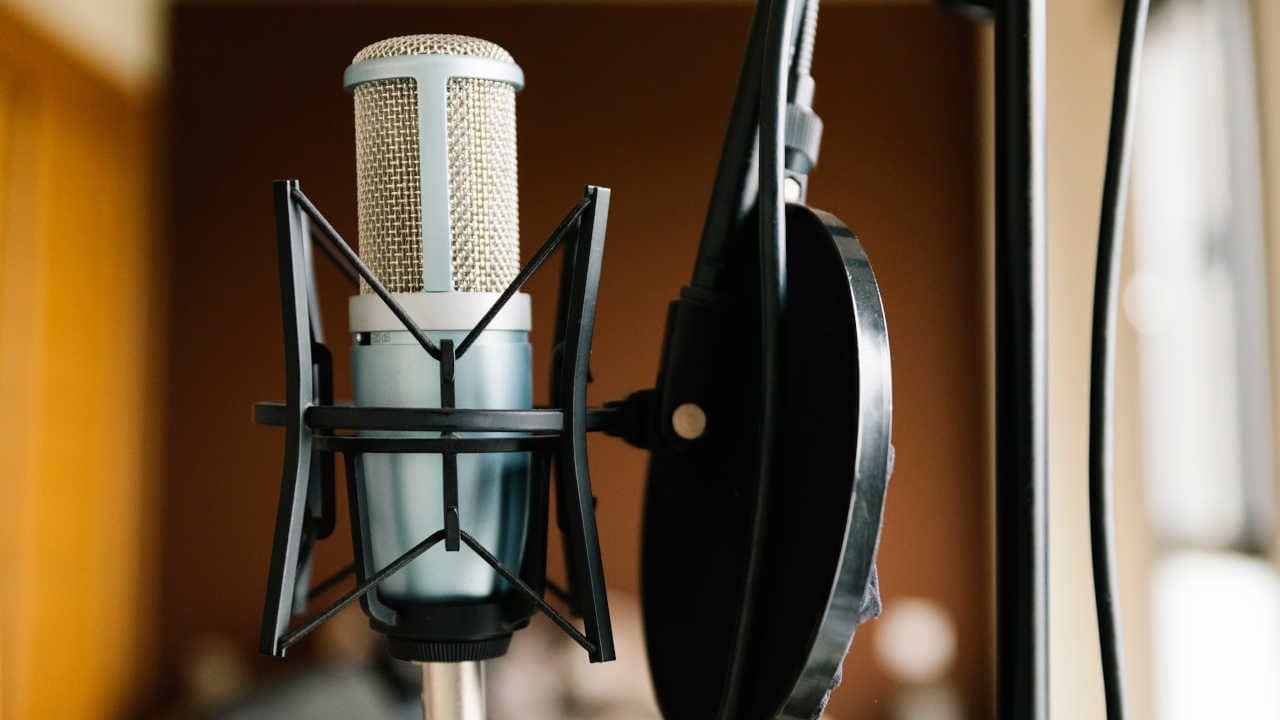
Basically: The technique only works with directional condenser microphones. Large-diaphragm studio condenser microphones are the most common type used by voice actors in their home studios.
They are directional, meaning that they are most sensitive to sounds that arrive at the front (logo side) of the microphone directly in line with the diaphragm. This is the microphone’s central axis. Most have what’s known as a cardioid polar pattern. This means they also pick up sounds that come at the microphone from other directions or angles (off-axis) and exclude sounds from the rear. The pick-up pattern is heart-shaped, hence the name. I’ll include a diagram to help visualise this.
Cardioid Polar Pattern

Directional Condenser Microphones are less sensitive, and they add colouration (mild, usually pleasant distortion and frequency changes) to sounds that arrive off-axis. The high-frequency response gradually decreases as the off-axis angle of the sound source increases. This means that we can change the angle to control the amount of high frequency that is captured in our recordings which is handy for controlling sibilance!
The high-frequency drop off and colouration are usually minimal up to around 20 degrees off-axis. Every microphone responds differently to off-axis signals, and the manufacturer usually provides a frequency chart that displays the responses at different angles.
Frequency response chart

Q: Can you explain how to set up a microphone in an off-axis position?
Andy: Aye! For most content, we are looking for a clean and clear recording that captures your voice’s natural sound and character, so we are aiming to find a mic position that is suitable for your average conversational level of speaking. You can then adjust your distance from this starting point, in line with the material you are recording. You can get closer for quieter or more intimate recordings or move further away for louder or more animated reads as required. Although, this is just a guide; experimentation is necessary to find the optimal sound.
We’re not going to delve into the acoustic treatment of your recording area here. We’re discussing the microphone’s placement in relation to the sound source – you, rather than its placement within the room.
Although we do have plentiful resources available regarding Home Studios
The primary considerations for microphone position are distance, height and direction. We are moving the microphone out of the direct path of your speech, so that you aren’t speaking straight at the mic.
Step by Step Instructions
- Make yourself a wee cuppa
- Start with around 20 – 30 cm between you and the microphone.
- Set up the microphone directly in front of you and adjust the height so that the diaphragm is in line with your mouth.
- Move the microphone 5 – 10 cm to one side while maintaining the same height and direction.
- Adjust the horizontal angle of the microphone to point to the space directly in front of your mouth. An angle of around 15 degrees is usually good.
- When recording, continue to speak straight ahead, as if the microphone was still in the original starting position.
- Congratulations, you are now recording Off-Axis!
Here’s a wee diagram to help! – it’s not to scale!
Fine-tuning
Once you’ve got this basic setup, you can fine-tune it by adjusting the position and angle. I recommend making a test recording of each adjustment. You may need to change your input gain slightly if you’ve moved closer or further away than usual.
When recording, speak at your normal conversational level (volume). The maximum peak level should be no higher than -6dB, and the average level of your voice-over should be around -20dB RMS. Most Audio editors and DAWs have dual meters which measure both the peak and average levels. Try not to get them mixed up!
Horizontal angle adjustments
Increasing the angle (Going further off-axis) will reduce the high frequencies and eventually the level. Remember, once you get past 20 degrees you are adding colouration to the recording.
Reducing the angle will increase the amount of direct signal that the microphone receives, which will increase the high frequencies. As you decrease the angle, you may notice sibilance, plosives, etc., starting to creep back into your recordings.
Somewhere between 10 and 20 degrees is typically the norm.
Vertical height and tilt
You can also adjust the height and vertical angle of the microphone. Some voice artists prefer this over changing the horizontal angle and position or using a combination of both. I recommend changing the horizontal position and angle before adjusting the height and tilt.
Altering the height will affect certain characteristics of your voice. When the microphone is higher than your mouth the bass response will decrease and you will lose some of the directional high frequencies too. You might find that you sound a little nasal if it’s directly in line with your nose. Angling the microphone slightly downwards towards the mouth will retain more high frequency. Angling it down further, you will start to pick up more resonance from your chest.
Some voice artists prefer the microphone to be slightly lower than their mouth to help capture chest resonance. As we regularly breathe slightly downwards, it’s likely that this will increase breaths and plosives in the recording too. I wouldn’t recommend doing this unless you have already developed excellent breathing/microphone techniques.
Q: Is there anything that Voice artists should watch out for when changing their Mic position?
Andy: You need to make test recordings whenever you adjust your microphone position. It can take a bit of experimentation to get the optimal sound. Your recording room’s size, shape, and layout will always affect your recordings too, so always remember to test!
When changing the Microphone position, you may need to reconsider the acoustic treatment in the room. Always avoid placing the microphone too close to a wall. If this is unavoidable, make sure the sound source is off-axis to the wall. Also, avoid placing the microphone in the corner of a room.
Q: What else can voices do to improve the quality of audio captured?
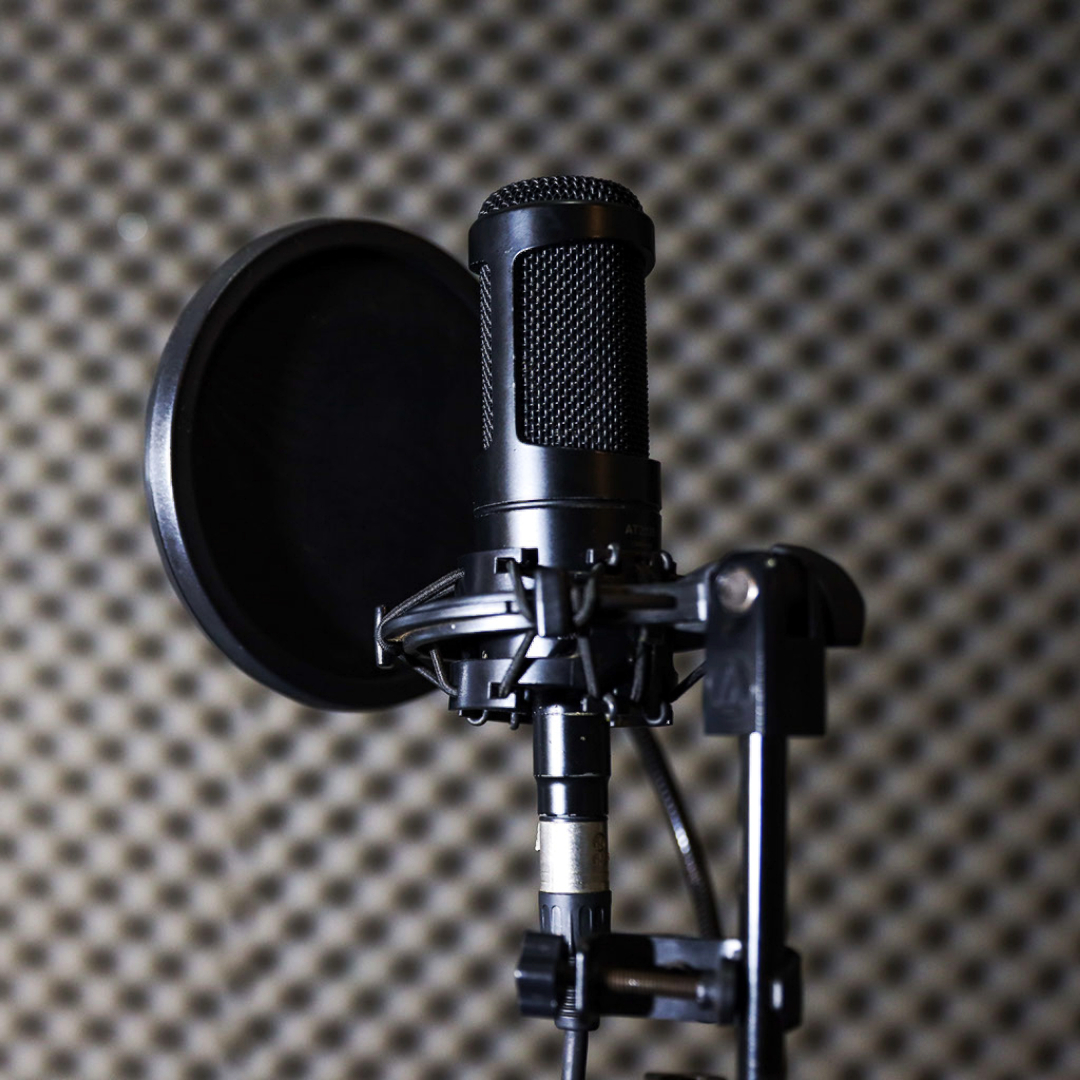
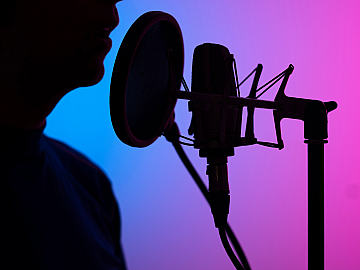
Andy: Always ask the producers, audio engineers, or clients for guidance where possible. Stay hydrated and always use a pop shield when recording a voice-over with a microphone.
This will help with sibilance and reduce the air striking the microphone directly. Setting it about 2 inches from the diaphragm will also keep you from getting far too close.
Utilising good microphone techniques is vital in producing a clean recording.
✔ Get Voquent Verified
What is the Best Microphone for Voice-Over?


More from this author


Sometimes we include links to online retail stores such as Amazon. As an Amazon Associate, if you click on a link and make a
purchase, we may receive a small commission at no additional cost to you.