The online video creation community has exploded in the past two decades.
In the past decade alone, we have seen a huge surge in online content creators on video sharing platforms such as YouTube, Vimeo, and Dailymotion. Anyone can be a video maker these days.
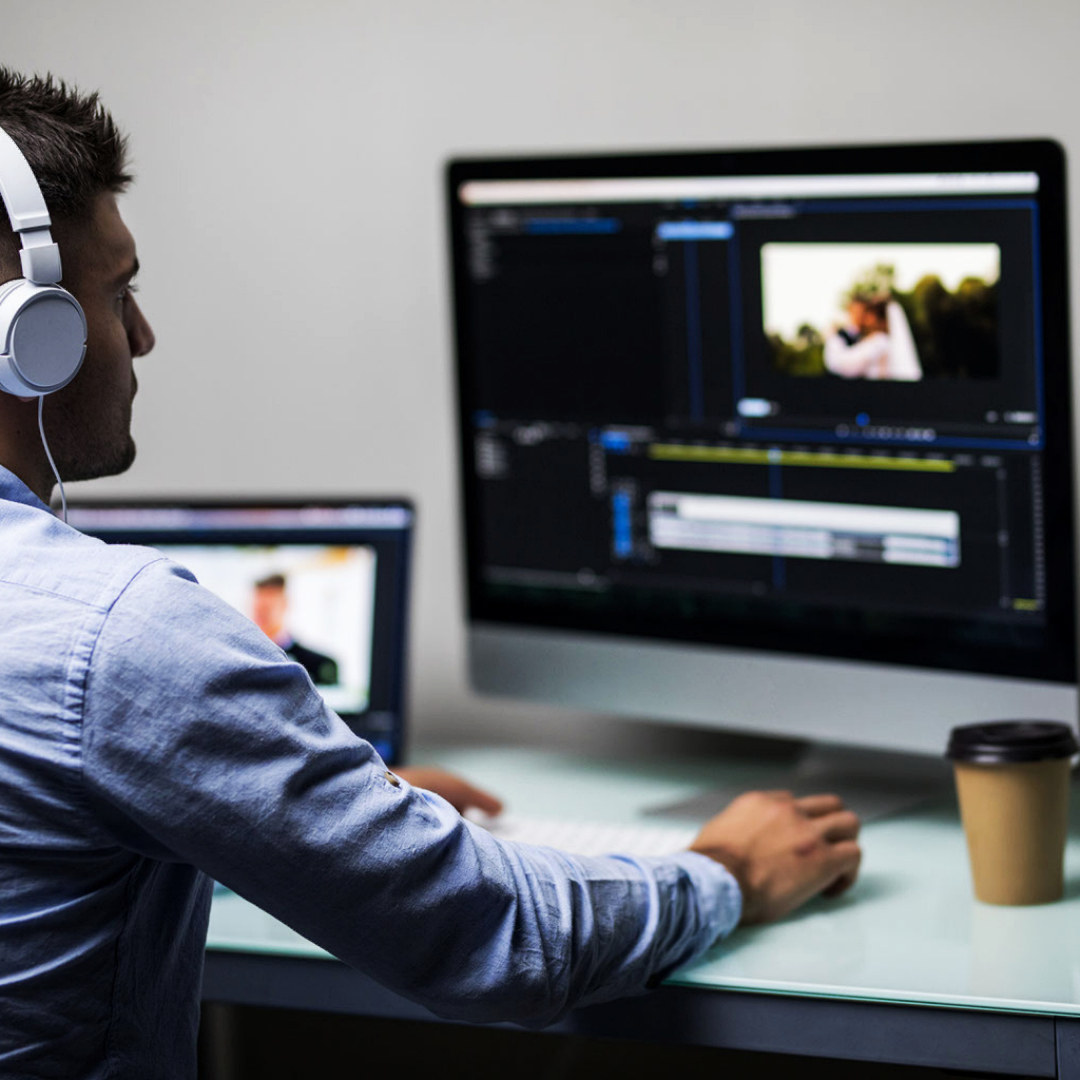
Capturing the perfect sound in your performance can be hard. One of the most common hurdles individuals will face is how to add voice-over to video content. For someone just getting into the video creation industry, it can be hard to figure out how to add voice to YouTube videos.
Before you tackle how to add voice-over to video content, the first step of any video-making process is writing and sticking to a script. It can be tempting to go off-the-cuff with your narration, but it will rarely work out. So make sure you have written and re-written, your voice-over script before you hit record to add voice on YouTube videos.
First off, let's look at the apps you can use. If you already know about that and want to jump straight in, then feel free to jump past the software talk.
Needing video production services? Reach out to one of Clutch’s Top-rated UK based video production companies, TopLine, now. Get only the best for your video production journey.
What apps should I use?
We will handle how to add voice-over to the video soon enough. First, we need to cover software.
Your budget and level of familiarity in audio editing will help determine what software you should go for. Any newbies or amateur editors will likely benefit from free software, at least to start out with. Once you consider yourself ready to level up, then some higher quality, paid software is right for you.
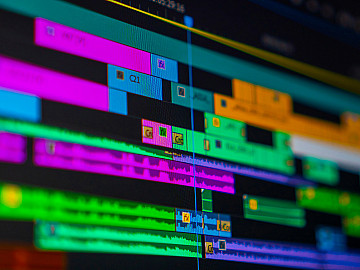
Regardless, using some form of editing software will improve your voice-over when implementing it into your video content. There are all kinds of free video editor software available if paid content isn't within your budget.
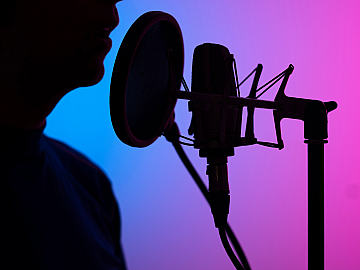
First, you will need a good microphone. If you already have one, then you are a step ahead! If not, you can find some recommendations from Voquent’s own sound pro, Alex, below.
Read more about microphones: What is the Best Microphone for Voice-Over? USB or XLR?
When using your PC/MAC and a plug-in microphone, you will need apps to capture and edit your audio. For this article, we will be focusing on these three apps:
- FREE / OPENSOURCE: OpenShot; the leading free, open-source video editor that can edit audio.
- PAID / PRO: Adobe Audition; a high-quality audio editor with many video editing & encoding tools included.
- PAID / PRO: Pro-Tools; industry-standard audio production software with some video export options
There are many alternative apps available, but the above three apps offer a range of options to users depending on their budget and experience level.
If you are a pro, then you likely don't need a guide. So we're going to assume you are just starting out and show you l how to use OpenShot to add voice-over to your video for free, but we'll also touch on the benefits of the other apps.
What is OpenShot?
OpenShot is a free, open-source video editor. The first question that springs into most people’s minds when they learn an app is free is why. Is it safe to download and use?
Open-source software has always been the safest go-to option for free software, as all the code that makes the software can be read and seen by everyone that uses it.
The fact that OpenShot is an award-winning open-source video editor is only adding authenticity to it as a good, free alternative to paid video software.
There may be limited functionality. But for how to add voice-over to video projects or how to add voice on YouTube video content, OpenShot does the job well.
Advantages of OpenShot:
- It is free to download and use
- A simple user interface
- Available on three of the main operating systems; Windows, macOS, and Linux.
- Supports more than 70 languages
- Has a catalogue of free video effects and transitions to use
Disadvantages of OpenShot:
- Video effects can be hard to edit and control after adding to a clip
- Video rendering speed isn’t as fast as some professional editors
- The program isn’t as powerful as professional editors and so has been known to crash
- Video and audio preview isn’t as streamlined as you’d expect, which can hinder the editing process
How to Add Voice-Over to Video using OpenShot
Adding a voice-over track to a video using OpenShot is easier than you may think. Very little technical knowledge is needed. To walk you through the process, I downloaded OpenShot and pieced together this helpful step-by-step guide.
I use Windows, but the process will be similar for macOS and Linux users. In the guide, we will be covering how to add voice on YouTube videos; but this method can work with video for any medium. The process is the same.
Step 1: Download and Install OpenShot
If you haven’t already downloaded OpenShot, go here, and then click the Download button shown inside the red rectangle or choose an alternative operating system from the row below.

The software will now download. After the download is complete, Windows users will see an ‘open file’ button at the bottom of your internet browser window. This is highlighted in red in the image below. Click this ‘open file’ button.

Next, if you have User Account Control activated, your computer will have a pop up that will ask you: ‘Do you want to allow this program to make changes to your computer?’ – click yes.
Next, you will have a window pop up to help you install the software. Select your language, then select ‘ok’ to move onto the next step.
You will now have a window that is asking you to accept the license agreement. Read the agreement if you want, select ‘I accept this agreement', and then click ‘Next’ to move on to the next step.

You now need to tell the computer where you want to install the software. This doesn’t really matter for small end projects, so click ‘Next’ on this screen unless you want to choose your install location. See the button highlighted in red below:

In this next step, you may want to select the ‘Create a Desktop Shortcut’ option and then click the ‘Next’ button again, as shown below.

Finally, click ‘Install’, and the software will be ready to use in around 5 minutes.

After the installation is complete, you should see this window pop up. Select ‘Launch OpenShot Video Editor’ and then select ‘Finish’. The video editing software will now open for you.

Step Two: Importing your Video and Audio Content into OpenShot
Now you need to get your files into OpenShot. Before you import any files, make a folder on your desktop and name it your project name. I called mine ‘tutorial project’ – this is where you will store all your project files for easy access. See the screenshot below.

This is where you will store your video file and the voice-over file you will add to it. For this tutorial, we are keeping it simple and adding one audio track to a video track.
After you have your files in your project folder, it is time to get them into OpenShot. Open up your OpenShot window and select the green plus sign in the top left-hand corner (as seen in the screenshot).

From this point, a screen will pop up for you to navigate to where your files are. Go to the project folder you have on your desktop, double click it, and you should see your files inside this folder. Select them and click open, like in the screenshot below:

You will now see your files in OpenShot:

From here, the process is straightforward for a two file project. Click, hold, and drag the video content onto ‘Track 5’ like shown in red, and your OpenShot timeline should look like this:

Next, do the same with your voice-over audio (or, in our case, fantasy music that we downloaded for this tutorial):

And, if your voice-over track and video content are the same duration, you are good to go! However, you will most likely need to sync up your voice-over lines with your video content in the real world.
Step Three: Editing, Syncing and Exporting your Video
This is easy enough to do as you can click, hold, and drag the positioning of both the video and audio tracks to change when they start and end.
For example, if you want your voice-over lines to begin halfway into the video, then you can drag the audio file halfway along the video file like so:

Getting this right can take some time, but syncing the audio and video is half the battle!
Once you have the audio and video synced, it is time to ‘export’ your final video content. To do this, go to the top left of OpenShot, select ‘File’, then go to ‘Export Project’ and finally select ‘Export Video’.

In the File Name field, put the title of your project. Next, select the ‘browse’ button:

Now you need to navigate to where you want to save your file on your computer. I am saving the file to my Desktop’s ‘Tutorial Project’ folder that I made earlier. Then click ‘Select Folder’ like so:

We need to set the video settings, which is fairly simple for a web or YouTube video. All you will need to do for most projects is to select the ‘Web’ profile. This will render your video in 1920x1080p at 25fps (HD).

Do bear in mind that if your video file were not already 1920x1080p or a higher resolution when you imported it, your video would not scale correctly. If you are not sure what your original video resolution is, you would better select the 1280x720p at 25fps setting under ‘Video Profile’.

After selecting your settings, click the ‘Export Video’ button, and you are done!

A progress bar will begin filling up with the export completion percentage. Do not close the window until this is finished at 100% – or your video will not be rendered correctly!

Wait until the bar is green in colour and at 100%, and then click the ‘Done’ button.

You can now close down OpenShot. If it asks you to save changes to your project file, you can choose ‘Yes’ or ‘No’ – that is just personal preference. I always click ‘Yes’ and save the project file.
If all has gone well, you should now have your video with your audio content added.
Congrats! While this is a fundamental guide, plenty of tutorials are available online on YouTube for video editing with OpenShot. You can also refer to OpenShot’s website for more info or help.
What about professional, paid software?
OpenShot is great for getting started and for small projects, but as your video and audio editing talents develop, you may wish to use software with more powerful functionality.
Paid apps will have more plugins available such as FX or themes. These plugins can help you filter, mix and refine your audio, and give you more video effects or video grading options.
Pros of Paid Software:
- Access to powerful industry-standard tools for content production
- A vast array of audio and video editing options using unique plugins
- Far greater file compatibility
Cons of Paid Software:
- Can be expensive
- Has a greater learning curve when learning how to use the software
- Need in-depth technical knowledge
There are hundreds of paid apps for audio and video editing; we're going to look at Adobe Audition and Pro-Tools.
Pro-Tools
Pro-Tools is an audio editing software developed by Avid Technology. It is compatible with both Windows and macOS systems.
While this particular software has a free version with access to 23 plugins, it also provides free trials for their more extensive packages of up to 115 different plugins to handle a wide range of audio production needs.
The Voquent production team use Pro-Tools for editing all their voice-over projects.
Adobe Audition
Adobe Audition is one of Adobe’s leading products and is one of the best paid audio editing apps.
A few other Adobe software programs include audio editing functions, but to add voice-over to a video, Audition does everything we need. Adobe Audition has compatibility with both Windows and macOS.
What are the main differences between Pro-Tools and Adobe Audition?
Pro-Tools tends to be quicker when it comes to handling plug-ins. To name a few:
- better hardware support for mixing consoles and interfaces
- re-wire support for internal routing
- lots of third-party plug-ins to choose from
- key commands tend to be more streamlined
This lends itself to the fact that Avid has a hardware background, and their software has been developed to work in synergy with professional hardware.
Pro-Tools is the industry standard for audio editing, so it is often more expensive than other paid alternatives like Adobe Audition.
Audition, on the other hand, comes with various other tools in a package. Adobe allows you to pay a subscription fee for their full suite, meaning you can use the combined software capability of Audition as well as powerful video editing software such as Premiere Pro and After Effects (if you need them). As a content producer looking to scale your project quality, this may be something to consider.
Our senior producer Alex, who exclusively uses Pro-Tools, agrees Audition is the better option for adding a voice-over track to the video:
“While I would always use Pro-Tools myself to perform an edit due to the detailed control and numerous professional plug-ins I already have for the software, Audition looks slightly easier for exporting video. Pro-Tools only exports video in .mov format, which limits you somewhat in terms of resolution and encoding settings. Audition allows you to export in a variety of formats directly from the software, which will definitely make it faster if that’s what you’re ultimately using it for. I’d generally export a .wav file from Pro-Tools and then combine the audio with the video in a different, bespoke bit of video editing software. This is how things like films and TV shows will be rendered, but it really depends what “level” of content you’re looking to create!”
So, all in all, there are dozens of methods detailing how to add voice on YouTube video content, and this is by no means an exhaustive list. There are countless software packages out there tailored to every professional and hobbyist you can imagine.
However, this guide aims to give you an idea about a popular free method and introduce you to two of the many professional software packages that you can use for adding voice-over.
You can learn how to use Adobe Auditions to add your voice-over file to your video by watching this video below:
Now that you know a little about software, why not listen to the professional voice actors on Voquent and choose someone for your next project.
Listen to Voices Now


More from this author


Sometimes we include links to online retail stores such as Amazon. As an Amazon Associate, if you click on a link and make a
purchase, we may receive a small commission at no additional cost to you.